Initial Setup
1. Sign In
Visit the GemiHub landing page and click "Sign in with Google". GemiHub will request permission to access your Google Drive.
GemiHub uses the drive.file scope, which means it can only access files it has created — not your entire Drive. Files you create outside of GemiHub are not visible to the app. If you want to work with existing Drive files, you can import them into the gemihub/ folder via GemiHub's interface.
2. Configure Gemini API Key
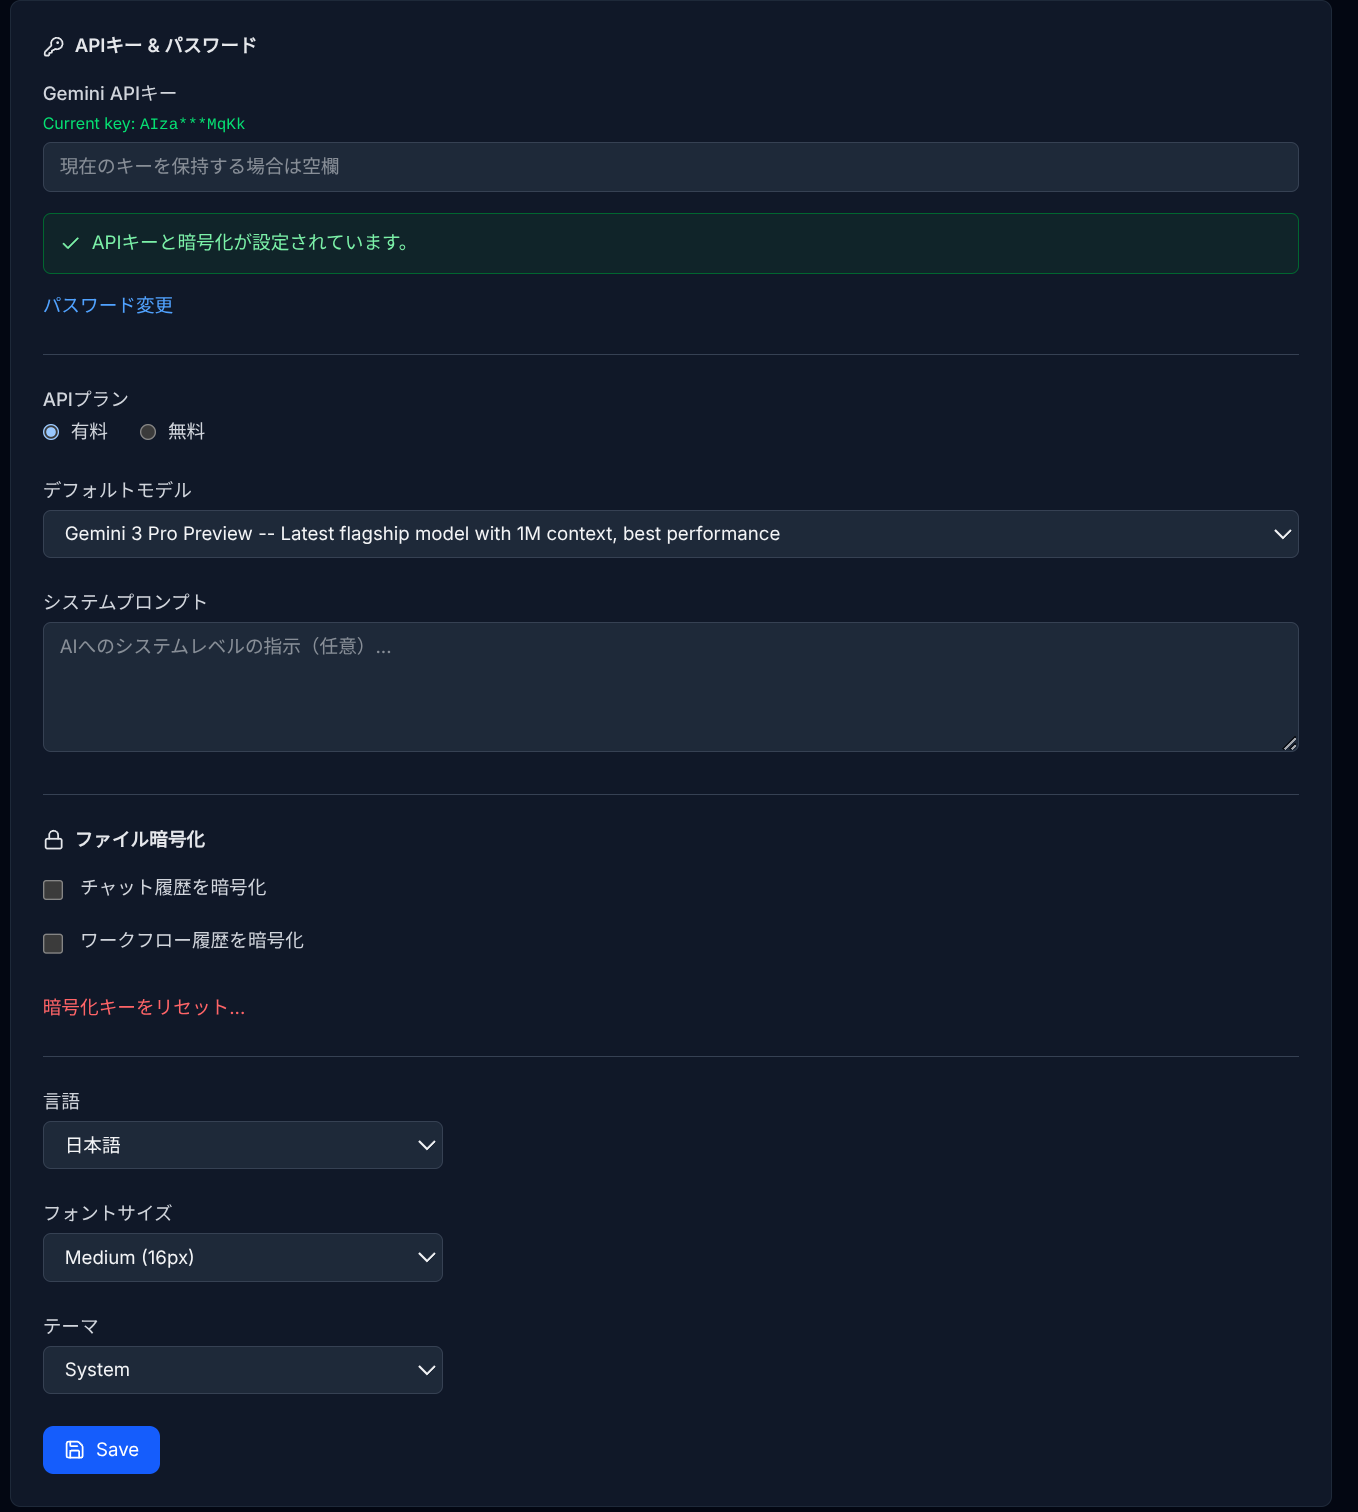
After signing in, go to Settings > General. Enter your Gemini API key in the API Key field. Without this key, AI features (chat, workflow AI nodes, RAG search) will not work.
To get a Gemini API key:
- Go to Google AI Studio.
- Create a new API key or use an existing one.
- Copy the key and paste it into GemiHub Settings.
3. API Plan
Select your API plan (Free or Paid). This determines which Gemini models are available. Paid plan users have access to more capable models.
4. Set a Password
Set a password in the API Key & Password section (minimum 8 characters). The password is used to encrypt your API key and enable file encryption features. All encryption is client-side — GemiHub never sends your password to any server.
5. First Sync
After configuration, GemiHub will automatically create the gemihub/ folder on your Drive and save your settings. Use Push to Drive to upload local changes and Pull to Local to download files from Drive.
6. Language & Theme
In Settings > General, you can change the interface language (English / Japanese) and the color theme (Light / Dark / System).